

Frothing and steaming both add air to milk, but steaming uses the pressurized steam from an espresso machine to heat and texture the milk at once, while frothing is any method that whips air in, with or without heat. You do not need an espresso machine to get cafe-quality foam at home, a five-dollar handheld milk frother gets you most of the way there.
This guide covers both: how to steam milk properly with a steam wand, how to froth milk without a machine using five everyday methods, which milk foams best, how much foam each drink needs, and the mistakes that leave you with big soapy bubbles instead of silky microfoam.
Frothing vs Steaming Milk: What Is the Difference?
Steaming uses an espresso machine’s steam wand to inject hot, pressurized steam into milk, heating and aerating it in one motion. Frothing is the broader term for whipping air into milk by any method, including handheld wands, French presses, jars, and electric frothers, hot or cold.
Steaming, done right, produces “microfoam,” a paint-like, glossy texture full of tiny bubbles that pours for latte art. Most home frothing methods produce a slightly drier, airier foam that is perfect for a cappuccino or for topping a drink, even if it will not pour a tulip.
Why Milk Foams (the Quick Science)
Milk foams because of its proteins and fat. The proteins trap and stabilize the air bubbles you whip in, while fat makes the foam richer and more stable. That is why whole milk foams into a silkier, longer-lasting foam than skim, and why high-protein barista oat milks foam far better than plain nut milks. Temperature matters too: milk stops stretching well above about 155°F, which is why over-heated milk goes flat.
The Best Milk for Frothing
Your milk choice sets the ceiling on how good your foam can be. Here is how the common options compare:
| Milk | Froth quality | Best for |
|---|---|---|
| Whole milk | Excellent | Lattes, cappuccinos, the all-rounder |
| 2% milk | Very good | Lighter foam, everyday drinks |
| Skim milk | Good but airy | Big dry foam, fades fast |
| Barista oat milk | Excellent | Best non-dairy; creamy microfoam |
| Almond / soy (barista) | Fair to good | Choose barista blends with added protein |
| Half-and-half | Very rich | Extra-thick foam, as in a breve |
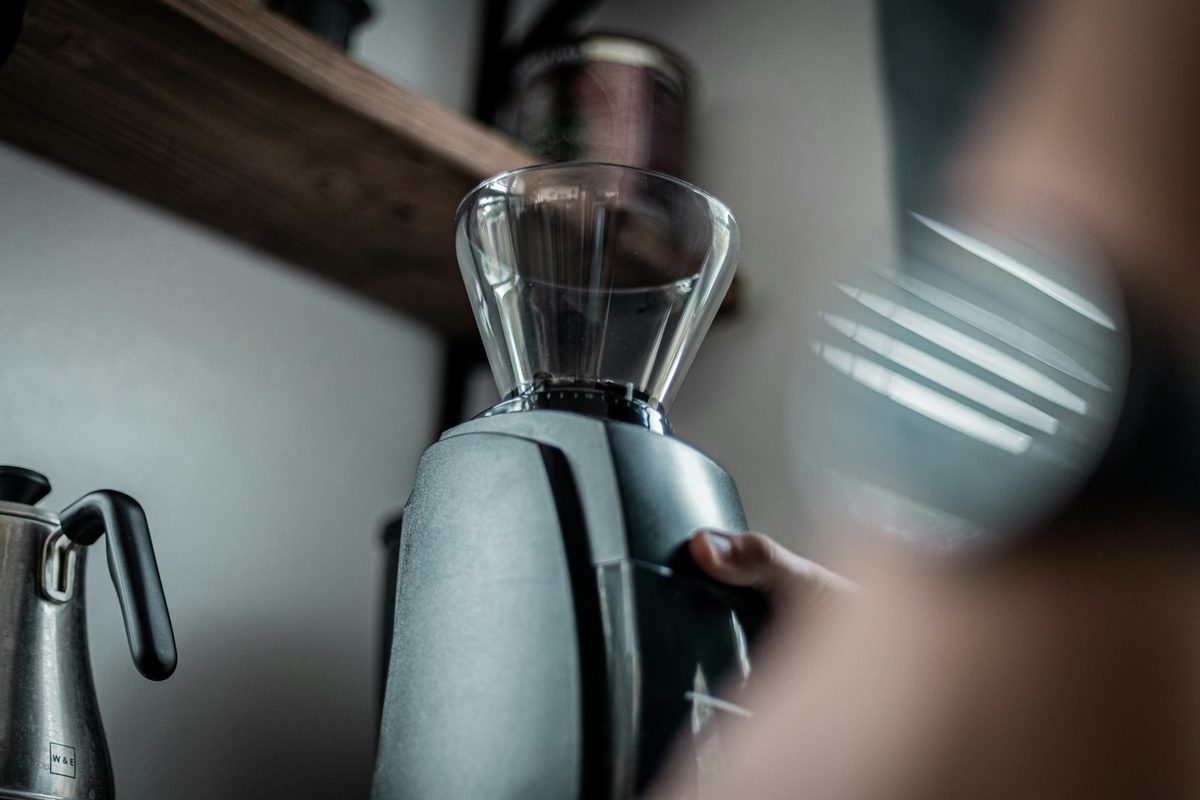
How to Steam Milk With an Espresso Machine
If you have a steam wand, this is the method that gives you pourable microfoam. Start with cold milk in a cold stainless steel pitcher filled about a third full.
- Purge the wand to clear any condensation, then tilt the pitcher slightly.
- Stretch (aerate): with the tip just below the surface, open the steam. You want a gentle hissing/paper-tearing sound as air pulls in. Do this for the first few seconds only.
- Texture (roll): submerge the tip a little deeper to create a whirlpool that folds the foam back in, breaking down big bubbles into microfoam.
- Stop at temperature: cut the steam when the pitcher is too hot to hold comfortably (around 140 to 150°F).
- Polish: tap the pitcher on the counter to pop large bubbles and swirl until the milk looks like glossy wet paint.
Pour it over fresh espresso for a latte. New to pulling shots? See our how to make espresso at home guide.
How to Froth Milk Without an Espresso Machine
No steam wand? These five methods all work. They are ranked roughly by foam quality:
| Method | How | Foam result |
|---|---|---|
| Handheld frother | Heat milk, submerge wand, froth 20-30 sec | Thick, even foam; the home sweet spot |
| Electric frother | Add milk, press button (hot or cold) | Consistent, hands-off |
| French press | Add warm milk, pump plunger 20-30x | Surprisingly fine foam |
| Jar shake | Fill 1/3, seal, shake 30-60 sec, then microwave 30 sec | Good airy foam, zero gear |
| Whisk | Whisk warmed milk briskly by hand | Light foam; takes effort |
For hot drinks, heat the milk first (microwave or stovetop to about 150°F) and then froth. For iced drinks, froth the milk cold, which is exactly how you make cold foam.
Microfoam vs Dry Foam: Matching Foam to the Drink
Different drinks need different amounts of foam. The same steamed milk, textured wetter or drier, gives you a whole menu:
| Drink | Foam level | Milk texture |
|---|---|---|
| Latte | Thin layer (~1 cm) | Wet microfoam |
| Flat white | Very thin | Silky microfoam |
| Cappuccino | Thick (~1/3 of cup) | Drier, airier foam |
| Cortado | Almost none | Barely textured warm milk |
| Macchiato | A dollop | A spoon of foam |
This is the only real difference between several popular drinks. See our breakdowns of cappuccino vs latte and flat white vs latte for the full picture.
How Hot Should Steamed Milk Be?
Aim for 140 to 150°F (60 to 65°C). In that range milk tastes its sweetest, because heat releases its natural sugars, and the foam stays stable. Above about 160°F the proteins start to break down, the foam goes flat and thin, and the milk can taste scalded. If you do not have a thermometer, stop steaming when the pitcher becomes uncomfortable to hold for more than a second or two.
Common Milk Frothing Mistakes
| Problem | Likely cause | Fix |
|---|---|---|
| Big soapy bubbles | Too much air, too fast | Aerate only the first few seconds, then submerge to roll |
| No foam at all | Milk too hot, or low-protein milk | Start cold; use whole or barista milk |
| Foam separates from milk | Over-aerated / dry foam | Texture longer to fold bubbles back in; swirl before pouring |
| Flat, thin foam | Milk overheated past 160°F | Stop at 140-150°F |
| Non-dairy will not foam | Plain (non-barista) milk | Switch to a barista-edition oat or soy |
Watch: How to Steam Great Milk
James Hoffmann breaks down the stretch-and-roll technique in detail in this video, which is the best free demonstration of getting microfoam at home:
The Bottom Line
You do not need a steam wand to froth milk well. Start with cold whole milk (or barista oat), add air for only the first few seconds, then fold it into a smooth, glossy foam, and stop at 140 to 150°F. A handheld frother covers almost every home drink, from a cappuccino to a glass of cold foam, and once the technique clicks, the texture is what separates a homemade latte from a cafe one.
Frequently Asked Questions About Frothing Milk
Steaming uses an espresso machine’s steam wand to heat and aerate milk at the same time, producing pourable microfoam. Frothing is any method of whipping air into milk, hot or cold, including handheld wands, French presses, and jars.
Heat milk to about 150°F, then aerate it with a handheld frother, by pumping a French press plunger 20-30 times, or by sealing it in a jar a third full and shaking for 30-60 seconds. For cold drinks, froth the milk cold.
Whole milk gives the silkiest, most stable foam thanks to its protein and fat. For non-dairy, a barista-edition oat milk is the closest match. Skim foams quickly but the foam is dry and fades fast.
Around 140 to 150°F (60 to 65°C). That range tastes sweetest and keeps the foam stable. Above about 160°F the proteins break down, the foam goes flat, and the milk can taste scalded.
You added too much air, too fast. Only aerate (keep the wand near the surface) for the first few seconds, then submerge the tip to create a whirlpool that folds the big bubbles into fine microfoam, and tap the pitcher to pop any that remain.
Yes. Froth the milk cold rather than hot and you get cold foam, the thick, pourable topping for iced coffee and cold brew. A handheld frother or a sealed jar both work.
Explore more in our coffee drinks hub.

Hey there! I’m Austin and I love coffee. In fact, I drink about 5 americanos a day. I started BrewingCoffees because I wanted to share my love of coffee with the world. Before starting BrewingCoffees, I worked as a Barista for 7 years.
Leave a Reply