


Homemade coffee creamer is milk or half and half shaken with sweetened condensed milk and a little vanilla, and it takes about two minutes. No cooking, no blender and nothing in it you cannot pronounce.
A batch makes about 2 3/4 cups and keeps for about a week in the fridge. Below you get the base recipe, which milk to choose, six flavors, dairy-free and lower-sugar versions, how to store it and how to fix creamer that curdles in hot coffee. If you also like foam on your iced drinks, our cold foam guide uses the same ingredients in different proportions.
The basic 3-ingredient creamer
Sweetened condensed milk does the work of sugar and thickener at once, which is why this recipe needs no cooking. It dissolves instantly in cold milk and gives the creamer a smooth, cafe-style body.
- 1 can (14 oz or 397g) sweetened condensed milk
- 1 1/2 cups (360 ml) whole milk or half and half
- 1 teaspoon vanilla extract
- Pour everything into a jar or bottle with a tight lid.
- Shake for 30 seconds, or whisk in a bowl, until fully combined.
- Chill it. Keep it in the fridge and shake before each use.
Use 1 to 2 tablespoons per cup of coffee. The batch makes about 2 3/4 cups (650 ml), enough for roughly 40 servings at 1 tablespoon each. It works in hot coffee, in any of the methods in our iced coffee guide, and stirred into cold brew. If a cup still tastes thin after two tablespoons, the fix is the coffee rather than more creamer, and our coffee to water ratio guide shows how to strengthen it.
Which milk to use
| Base | Result | Calories per tablespoon (estimate) |
|---|---|---|
| Whole milk | Light and pourable, closest to bought creamer | About 35 |
| Half and half | Richer, coats the spoon | About 40 |
| 1 cup heavy cream plus 1/2 cup milk | Very rich, like a sweet cream | About 50 |
The sugar comes from the condensed milk, so expect roughly 5 to 6 g per tablespoon whichever base you choose. If you like your coffee only lightly sweet, use 1 tablespoon rather than 2. In an iced latte you can skip the syrup and let the creamer do the sweetening.
Flavors: vanilla, hazelnut, caramel and more
Mix the base first, then add flavors a little at a time. Extracts are strong and impossible to remove once they are in, so taste as you go.
| Flavor | Add to the full batch |
|---|---|
| French vanilla | Double the vanilla to 2 teaspoons |
| Hazelnut | 1 to 2 teaspoons hazelnut extract, or 3 tablespoons hazelnut syrup |
| Caramel | 3 tablespoons caramel sauce, whisked in first |
| Brown sugar cinnamon | 3 tablespoons brown sugar cinnamon syrup |
| Pumpkin spice | 3 tablespoons pumpkin spice syrup |
| Peppermint | 1/4 to 1/2 teaspoon peppermint extract |
For the brown sugar cinnamon version, use our brown sugar syrup with the cinnamon option. For an autumn creamer, our pumpkin spice syrup stirs straight in. Peppermint extract is the strongest of the lot, so start at 1/4 teaspoon.
Dairy-free coffee creamer
Full-fat coconut milk gives a dairy-free creamer the body that oat or almond milk alone cannot. It tastes lightly of coconut, so use oat milk for the liquid to keep the flavor neutral.
- 1 can (13.5 oz or 400 ml) full-fat coconut milk
- 1 cup (240 ml) unsweetened oat or almond milk
- 3 to 4 tablespoons maple syrup
- 2 teaspoons vanilla extract
- 1 pinch of fine salt
Warm the can in a bowl of hot water for a few minutes so the fat loosens, then blend or shake everything hard for 30 seconds. It keeps for about five days. Coconut fat sets when cold, so the creamer separates in the fridge and needs a firm shake before each pour.
Lower-sugar creamer without condensed milk
Skipping the condensed milk cuts the sugar to about a third and the calories to roughly 20 per tablespoon. The result is thinner and less sweet, closer to half and half with a hint of sugar.
- 1 cup (240 ml) half and half
- 1 cup (240 ml) whole milk
- 3 tablespoons granulated sugar
- 1 teaspoon vanilla extract
Warm about half a cup of the milk with the sugar until it dissolves, then stir in the rest and the vanilla and chill. The figures are estimates. Because there is less sugar to preserve it, use this version within about five days.
How long homemade creamer lasts
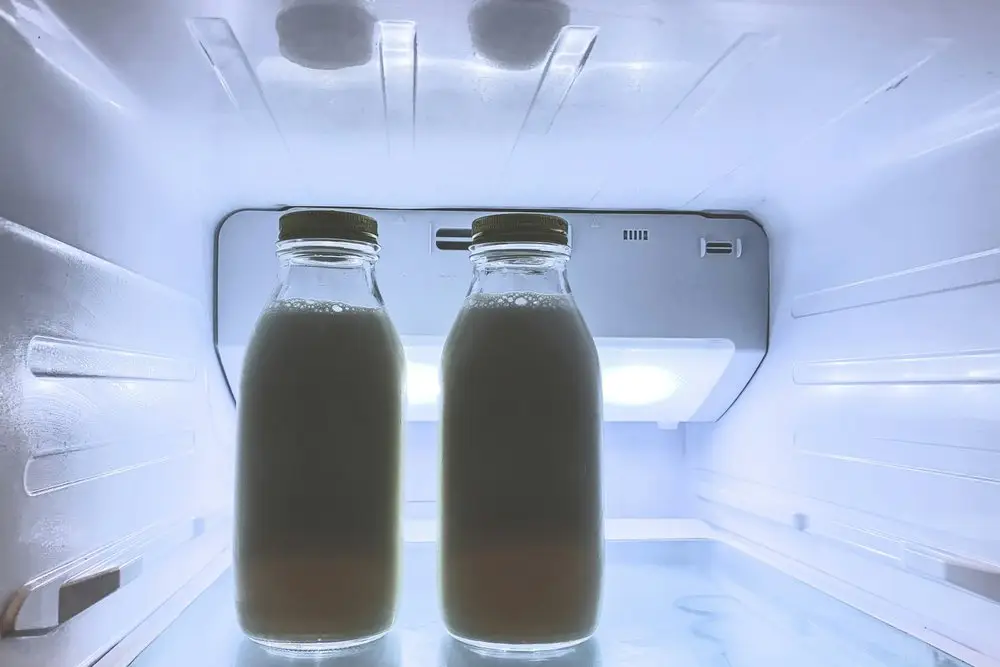
Expect about a week in the fridge, and never longer than the date on the milk you started with. A creamer is only as fresh as its freshest dairy ingredient. Store it in a sealed glass bottle, label it with the day you made it and shake it before each use.
- Signs to throw it out: a sour smell, lumps that will not shake out, or an off taste.
- Freezing: pour it into an ice cube tray, then bag the cubes. A standard cube holds about 2 tablespoons, and they keep for up to three months.
- Thawing: defrost in the fridge and shake. It can look slightly grainy at first but blends back.
Homemade vs store-bought creamer
| Factor | Homemade | Store-bought |
|---|---|---|
| Ingredients | Two or three you can name | Many include oils, gums and stabilizers |
| Shelf life | About a week | Weeks to months |
| Sugar | You control it | Fixed by the recipe |
| Flavors | Whatever you can mix | A limited lineup |
The trade-off is shelf life. A week is fine if you drink coffee daily, and you can halve everything for a smaller batch. The can of condensed milk makes halving awkward, so freeze the spare as cubes.
Why creamer curdles in hot coffee and how to stop it
Curdling happens when acid in the coffee and heat meet dairy that is past its best. Fresh creamer in ordinary coffee rarely splits, so a curdled cup usually points to the milk, the temperature or the coffee.
- Pour the coffee first, then add the creamer slowly, rather than dropping cold creamer into scalding coffee.
- Let the coffee cool for 30 to 60 seconds if it is very hot.
- Check the date: creamer made from older milk splits far more easily.
- Plant bases curdle more, so add oat or almond creamers to coffee that has cooled slightly.
Highly acidic coffee is the other culprit. A medium roast is gentler on creamer, and our best medium roast coffee picks are a good place to start if your creamer keeps splitting.
The bottom line
Homemade coffee creamer is three ingredients and two minutes, and you choose exactly how sweet and rich it is. Make the basic version first, then try a flavor. More recipes are in our coffee drinks section.
Frequently Asked Questions About Homemade Coffee Creamer
About one week in a sealed jar or bottle, and never longer than the date on the milk you used. Throw it out if it smells sour or has lumps that will not shake out.
Yes. Warm 1 cup of half and half and 1 cup of whole milk with 3 tablespoons of sugar until it dissolves, add a teaspoon of vanilla and chill. It is thinner and less sweet, and it keeps for about five days.
One to two tablespoons for an 8 to 12 ounce cup. The condensed milk version is sweet, so start with 1 tablespoon and add more if you want it.
Yes. Freeze it in an ice cube tray, then move the cubes to a bag. They keep for up to three months. Thaw in the fridge and shake well, since it can look grainy for a moment.
Usually because the coffee was very hot or acidic, or the milk was close to its date. Let the coffee cool for a minute, pour it in first, and add the creamer slowly.
Yes. Blend full-fat coconut milk with unsweetened oat milk, maple syrup, vanilla and a pinch of salt. It keeps for about five days and needs a firm shake before use because the coconut fat separates when cold.
 Megan Cunningham
Contributor
Tests everything in an ordinary kitchen on affordable gear.
Megan Cunningham
Contributor
Tests everything in an ordinary kitchen on affordable gear.